Troubleshooting Common Issues In Elisa Kits: Tips And Strategies
Sep 22nd 2023

Since its invention almost half a century ago, the Enzyme-Linked Immunosorbent Assay (ELISA) has established itself as the industry standard for diagnostic testing and research on therapeutic efficacy. With an ELISA, you can measure the amount of a target molecule (like a protein, peptide, or hormone) in a fluid sample by sticking it to a microplate with certain antibodies that attach to that molecule and spotting the specific binding with high accuracy.
Even though new techniques like flow cytometry have emerged, Elisa test kits remain common because it is specific and can be used in many different ways.
But similar to other laboratory techniques and solutions, it has some downsides and errors.
Learn more about the tips and strategies used to resolve issues related to this type of immunoassay.
Let's start by exploring different approaches to Elisa kit troubleshooting, like detecting false negatives in Elisa, and non-specific binding in Elisa.
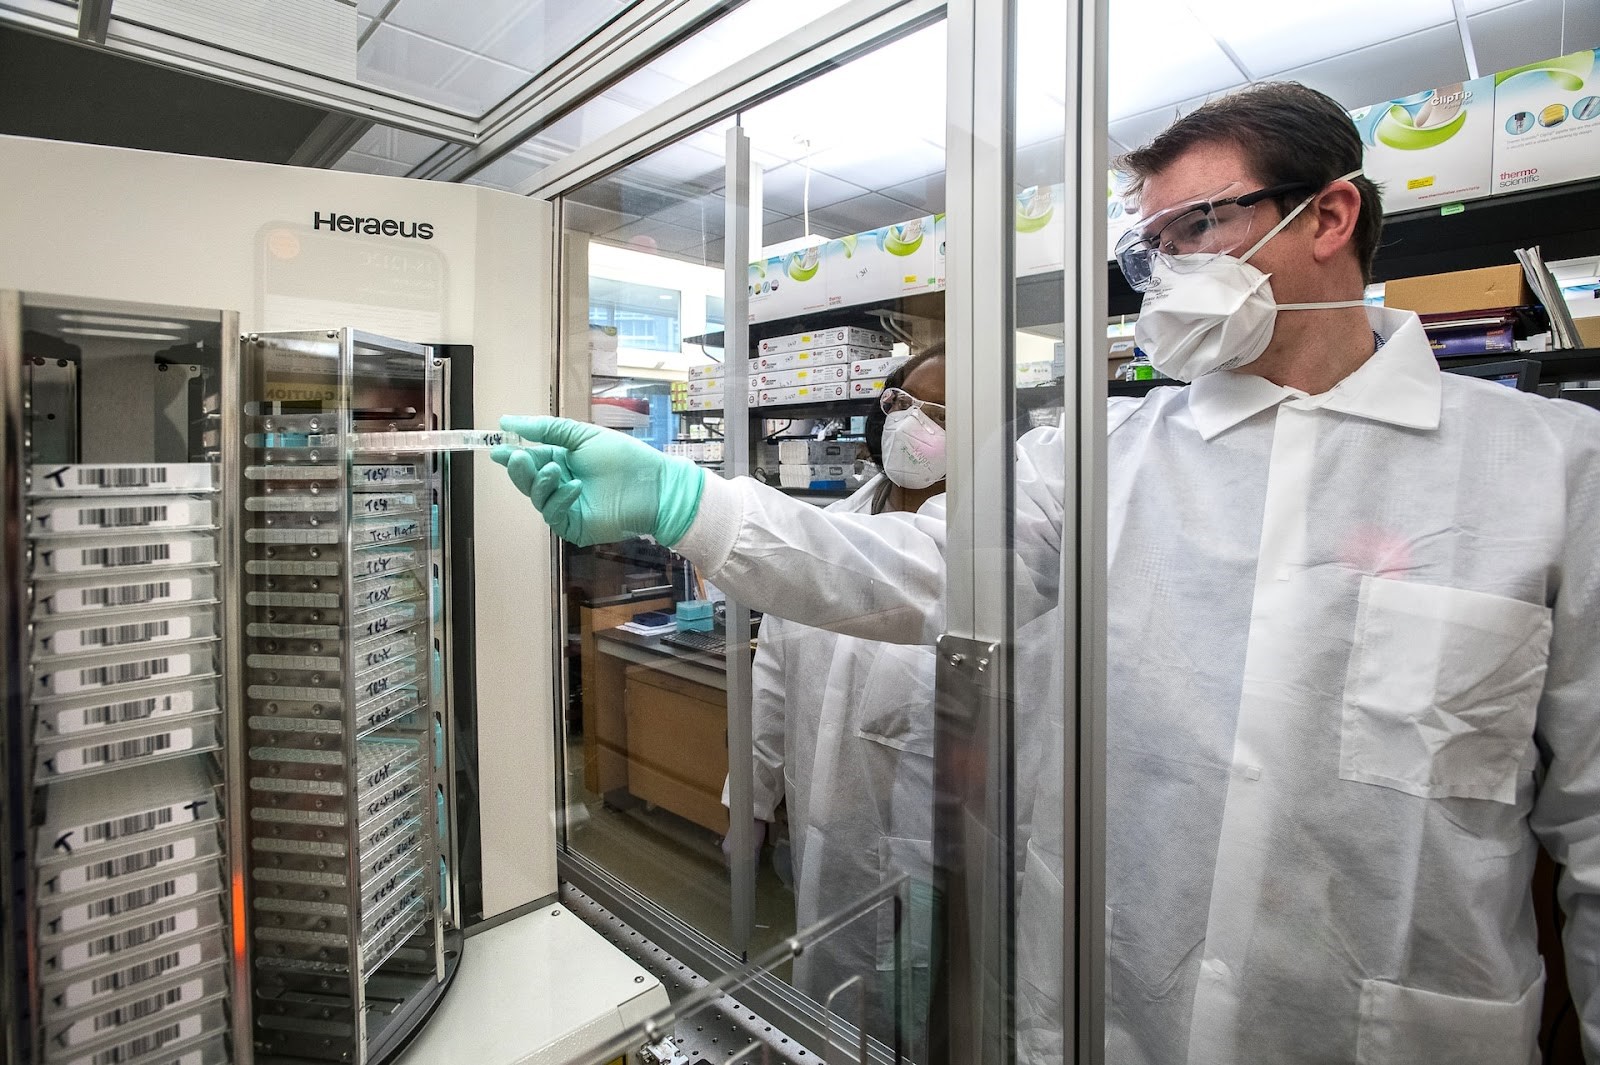
Weak or Zero Signal

Photo by National Cancer Institute on Unsplash
Let's explore some common issues in Elisa kits related to zero or low signal in Elisa and their respective measures.
- Not starting with reagents at room temperature: Before beginning the assay, it is best if all the chemicals are at room temperature. Let the chemicals rest on the bench at room temperature for 15–20 minutes.
- Poor storage and handling of components: The kit's sticker will tell you its storage procedure. Make sure you adhere to the instructions for storing the gear. The recommended temperature range for storing most kits is between 2 and 8 degrees Celsius.
- Old reagents: Verify the expiration dates of each reagent. Reagents that have passed their expiry date should not be used.
- Improper addition or preparation of reagents: Verify that the correct dilution was used and that the reagents were introduced in the appropriate sequence.
- Mistakes in the diluting process: Verify the pipetting procedure (detailed further down this guide) and crosscheck your calculations.
- Capture antibody failed to adhere to the plate: If you employ a prepared-to-use kit, the leaves with the premade kit will already have the capture antibody coated.Ensure you have an ELISA plate, not a tissue culture plate if you're coating your plate using an Antibody Pair Kit. Use PBS to dilute the antibody. Ensure that the coating and blocking processes are properly prepared and incubated.
- Use of insufficient detector antibody: The methods for making kits have greatly improved, so ensure you dilute the antibodies correctly. Optimization of the assay may be required while creating ELISA utilizing an Antibody Pair Kit.
- Scratches made in the wells using pipettes or washing tips: Always exercise extreme caution whenever administering from or into wells. The automated plate washers may need to adjust their calibration so that the ends don't hit the bottom of the wells.
- Plate scanned at the wrong wavelength: A crucial step for troubleshooting Elisa plate reading is to use the suggested filter or wavelength and check that the plate reader is correctly configured for the type of substrate you wish to use.
Excessive Signal
- Not enough cleaning: Use the proper cleansing method; see below. After each rinse, turn the plate upside down on a piece of absorbent tissue and tap it firmly to remove any remaining water.
- Not using or reusing plate sealers: Plate sealers should be used to cover test plates while incubating. When opening the plate again, you should always use a new sealer. As a result, cross-contamination between wells will be avoided.
- Incorrectly produced dilutions: Pipetting method and calculations should be double-checked.
Take note of and adhere to the suggested incubation times. You may need to optimize the assay if you build an ELISA employing antibody pairs.
High Elisa Background
Before looking at tips for troubleshooting high background in Elisa, here are the causes.
- Inadequate cleaning: Use the right approach to wash, as shown below. Increasing the amount of time spent soaking may also be effective. Include an additional thirty seconds after each wash buffer soak. After each rinse, turn the plate upside down on a piece of absorbent tissue and thump it firmly to remove any remaining water.
- Light exposure of substrate with application: Keep substrate in a dark place to prevent photodegradation. Also, you want to reduce the amount of light exposure while the test is being conducted.
- Overly lengthy incubation periods: Ensure that the recommended incubation times are followed.
- Incorrectly made standard curve dilutions: Verify your pipetting method as detailed below.
Inadequate Standard Curve For the ELISA
Dilutions used to create the standard curve were off:
- Check the pipetting procedure (for further information. see below).
- Check your calculations at least twice.
The antibody to capture didn't stick to the plate: Make careful to use an ELISA plate rather than a tissue culture plate. Next, the antibody should be diluted in PBS. Check that the coating and blocking procedures have the appropriate preparation and incubation time.
ELISA Findings that Didn't Replicate Well
- Inadequate cleaning: Always use the correct washing measures, as discussed below. Adding more time to the soak steps could also help. Include an additional thirty seconds after each wash buffer soak. After each rinse, turn the plate upside down on a piece of absorbent tissue and tap it firmly to get rid of any remaining water.
- The antibody for capture did not bind to the plate: An ELISA plate, as opposed to a tissue culture plate, should be used. Then, use PBS to dilute the antibody. Check that the coating and blocking procedures have the appropriate preparation and incubation time.
- Expired or unused plate sealers: Plate sealers should be used to cover assay plates while incubating. When opening the plate again, you should always use a new sealer. This will prevent water from different wells from mixing.
Inconsistent Results in Elisa Test Outcomes
Inactive or repurposed plate sealers: Plate sealers should be used to cover assay plates while incubating. When opening the plate again, you should always use a new sealer. As a result, cross-contamination between wells will not be an issue.
Problems with Elisa's Edges
- Inconsistent temperature: Throughout the incubation process, ensure the plate is thoroughly sealed using a plate sealer. Assuming incubation at 37 degrees Celsius is required, place the plate in the exact middle of the incubator.
- Evaporation: During incubation, ensure the plate is thoroughly sealed using a plate sealer.
- Piled Plates: Do not arrange plates while incubating.
Drift
- Interrupted experiment setup: Ongoing setup for the assay is recommended; before the beginning of the test, ensure that all standards and samples have been adequately prepared.
- Non-room-temperature reagents: Before pipetting any chemicals into the wells, ensure that all the reagents are at the appropriate temperature, except otherwise indicated in the antibody inserts.
There's no Anticipated Signal, But The Standard Curve is Accurate.
- There was no cytokine in the sample: Set up your checks and balances, rerun the experiment, and reevaluate your variables.
- Obscured detection by the sample matrix: Samples should be diluted by at least a factor of two in the appropriate diluent, and ideally, a series of dilutions should be performed to assess recovery.
Inaccurate/Degraded Standard Solution
A second typical source of inaccurate standard curves is a widespread stock solution that degenerates over time. This could happen if the stock solutions and chemicals in the ELISA kit/assay need to be stored properly.
In addition to ensuring that the stock solution is appropriately diluted and kept for use by the protocol, you should also verify that your estimates for dilution are accurate. If the standard is better than it is, the optical density (OD) numbers that come out will probably be lower than expected.
This means that the standard curve will be less accurate than required. The mistake in OD readings caused by an inaccurate stock concentration would differ depending on whether the concentration was more or less diluted.
Repeating the assay with care to store the sample and standard solution as per supplier standards is vital if the standard solution has decayed or been mixed to the wrong concentration.
Higher than Average Coefficient of Variation
The lowest possible coefficient of variation (CV) is desired when employing these kits and troubleshooting Elisa data analysis. Derived by splitting the standard deviation of a set of observations by the set's average, the coefficient of variation (CV) value is a numerical ratio representing the variation level.
A low coefficient of variation (CV) between sample duplicates proves that the test was carried out appropriately and that the average curve generated as an outcome is exact and accurate. The following factors may contribute to a high CV.
1. Wells With Air Bubbles
You could notice little bubbles forming inside the wells of the plate when you pipette reagents and specimens into it. It is critical to eliminate these bubbles before performing the ELISA since they might impact both absorbance measurements and result in inaccurate sample reagent doses poured into every single well.
While pipetting with your hand, pay careful attention to the angles at which you approach the pipette; the dispensing angle should be 45 degrees, and the aspirating angle should be 90 degrees. Let go of the plunger gently and cautiously after completely pouring the liquid into the pipette to lessen the possibility of bubbles forming.
Even though it takes time, careful pipetting can save you a lot of trouble by preventing you from getting different results.
2. Lack of Sufficient Cleaning
One more thing that could have contributed to the high CV is that the sample wells weren't washed the same or as meticulously as necessary. As was indicated earlier, the wash procedures are an essential part of the process since they ensure that the sample wells are clean and free of any impurities or molecules that are not properly bonded.
If the CV is high, it is suggested that you immerse the sample for an extra 30 seconds throughout the washing process. It is essential when troubleshooting Elisa plate washing to clean and clear the dispensing tubes of any debris before utilizing an automatic plate washer.
3. Edge Effect
It'snot uncommon for problems associated with the "edge effect" to surface. As the name implies, this phenomenon occurs when the wells along the borders of the sample plate exhibit a different absorbance (higher or lower) than those in the plate's center.
Tips For ELISA Pipetting and Cleaning
Photo by National Cancer Institute on Unsplash
Troubleshooting Elisa assay tests won’t be complete without tips for correcting and performing the basic procedure this method involves.
Pipetting Procedure
- Only use the exact pipette within the manufacturer-recommended range.
- Check that the tip is securely attached to the pipette.
- Pipette without air bubbles in mind.
- Swap out the probes after using a new standard, sample, or reagent.
- Separate reagents into their storage containers.
- Avoid spillage by pipetting samples into the sides of wells.
- Always perform duplicate tests on samples and standards.
Washing Technique
Put an aspiration tip lightly into the base of every well and slowly pull out any remaining liquid.
Warning: Avoid scratching the well's interior at all costs.
- A minimum of 400 L of diluted wash buffer should be added to each well.
- Allow to soak for fifteen to thirty seconds.
- Take the wash buffer out of the wells.
- Perform as often as specified in the instructions (usually 3–4).
When you are through cleaning the plate, turn it upside down and tap it (firmly, if required) dry on some absorbent tissue. Make sure to get rid of any extra liquid.
You can also use a squirt bottle or a device that does this for you. Ensure you adhere to the above tips.
How Biomatik Can Help
As you can expect, Biomatik can help with Elisa kit troubleshooting tips. The respective division of Biomatik functions as a "one-stop shop" for developing immunoassays. Immunoassay reagents supplied by Biomatik have been optimized to improve immunoassays' detection rate, specificity, and longevity during lab tests, point-of-care uses, and other diagnostic applications. These immunoassay reagents are necessary for ensuring that immunoassay results are accurate and reliable.
The immunoassay reagents offered by Biomatik are considered the industry benchmark for product efficacy and provide assay developers with a comprehensive toolkit for constructing dependable and reproducible immunoassays.
Other services and products Biomatikprovides include:
- Protein production service
- Peptide Synthesis
- Antibody Sequencing
- Protein expression Service
If you would like more information on how peptide synthesis companies and Elisa kit manufacturers can assist in optimizing immunoassay applications and providing gene synthesis, custom antibody production, and protein production, please check the rest of our website.
Conclusion
To maximize ELISA's potential, further research has to center on overcoming some Elisa kit problems and drawbacks. Signal amplification methods can improve sensitivity so that even small amounts of antigens in a sample can be found accurately.
For instance, adding multiplexing is an improvement that makes it possible to simultaneously measure the amount of several proteins, peptides, and small molecules in the sample. With these tips and Elisa kit troubleshooting strategies, you can rest assured of more consistent results while easily detecting false positives in Elisa kits’ results.